Shiloh - Building an LED Cross
This post has been a while in the making, the cross itself went in in 2021, but I only just finished the post.
Design
Rationale / Aims / Motivation
I have been thinking about building an LED cross for a little while, after mentioning it at church it turned out that our youth had been asking for one so that spurred me into action. Our team leader was also keen on the idea and I thought that it would be a good project for me to do some more electronics whilst also making something useful.
For maximum visual impact I wanted the cross to be free standing I also wanted its mount to be flexible enough that it can be easily re-located.
Frame
I wanted to create a cross shaped frame with a cut-out middle that could be illuminated by LEDs run inside the frame. Since this was my first project with a significant amount of “making” involved it was prudent to design a small cross rather than a large one. I drew the following 1m tall cross in Fusion 360 (Free edition).

Parts list
x5 1m
x3
- Wood (Norman Piette in Guernsey)
- Black paint (B&Q in Guernsey)
- White spray paint (B&Q in Guernsey)

Other parts that didn’t make it into the final build
See my comments later on in the post as to why.
Core build
Control
Build
Frame
There are lots of corners in crosses and I had many cuts to make! Using a hacksaw (wish my Dremel had arrived earlier!) I cut all of the pieces into the appropriate lengths and labled each length with a sharpie. Despite using a caliper to do the measuring I made quite a few mistakes and had to re-cut a few lengths. I found it really difficult to cut accurately with a hacksaw.

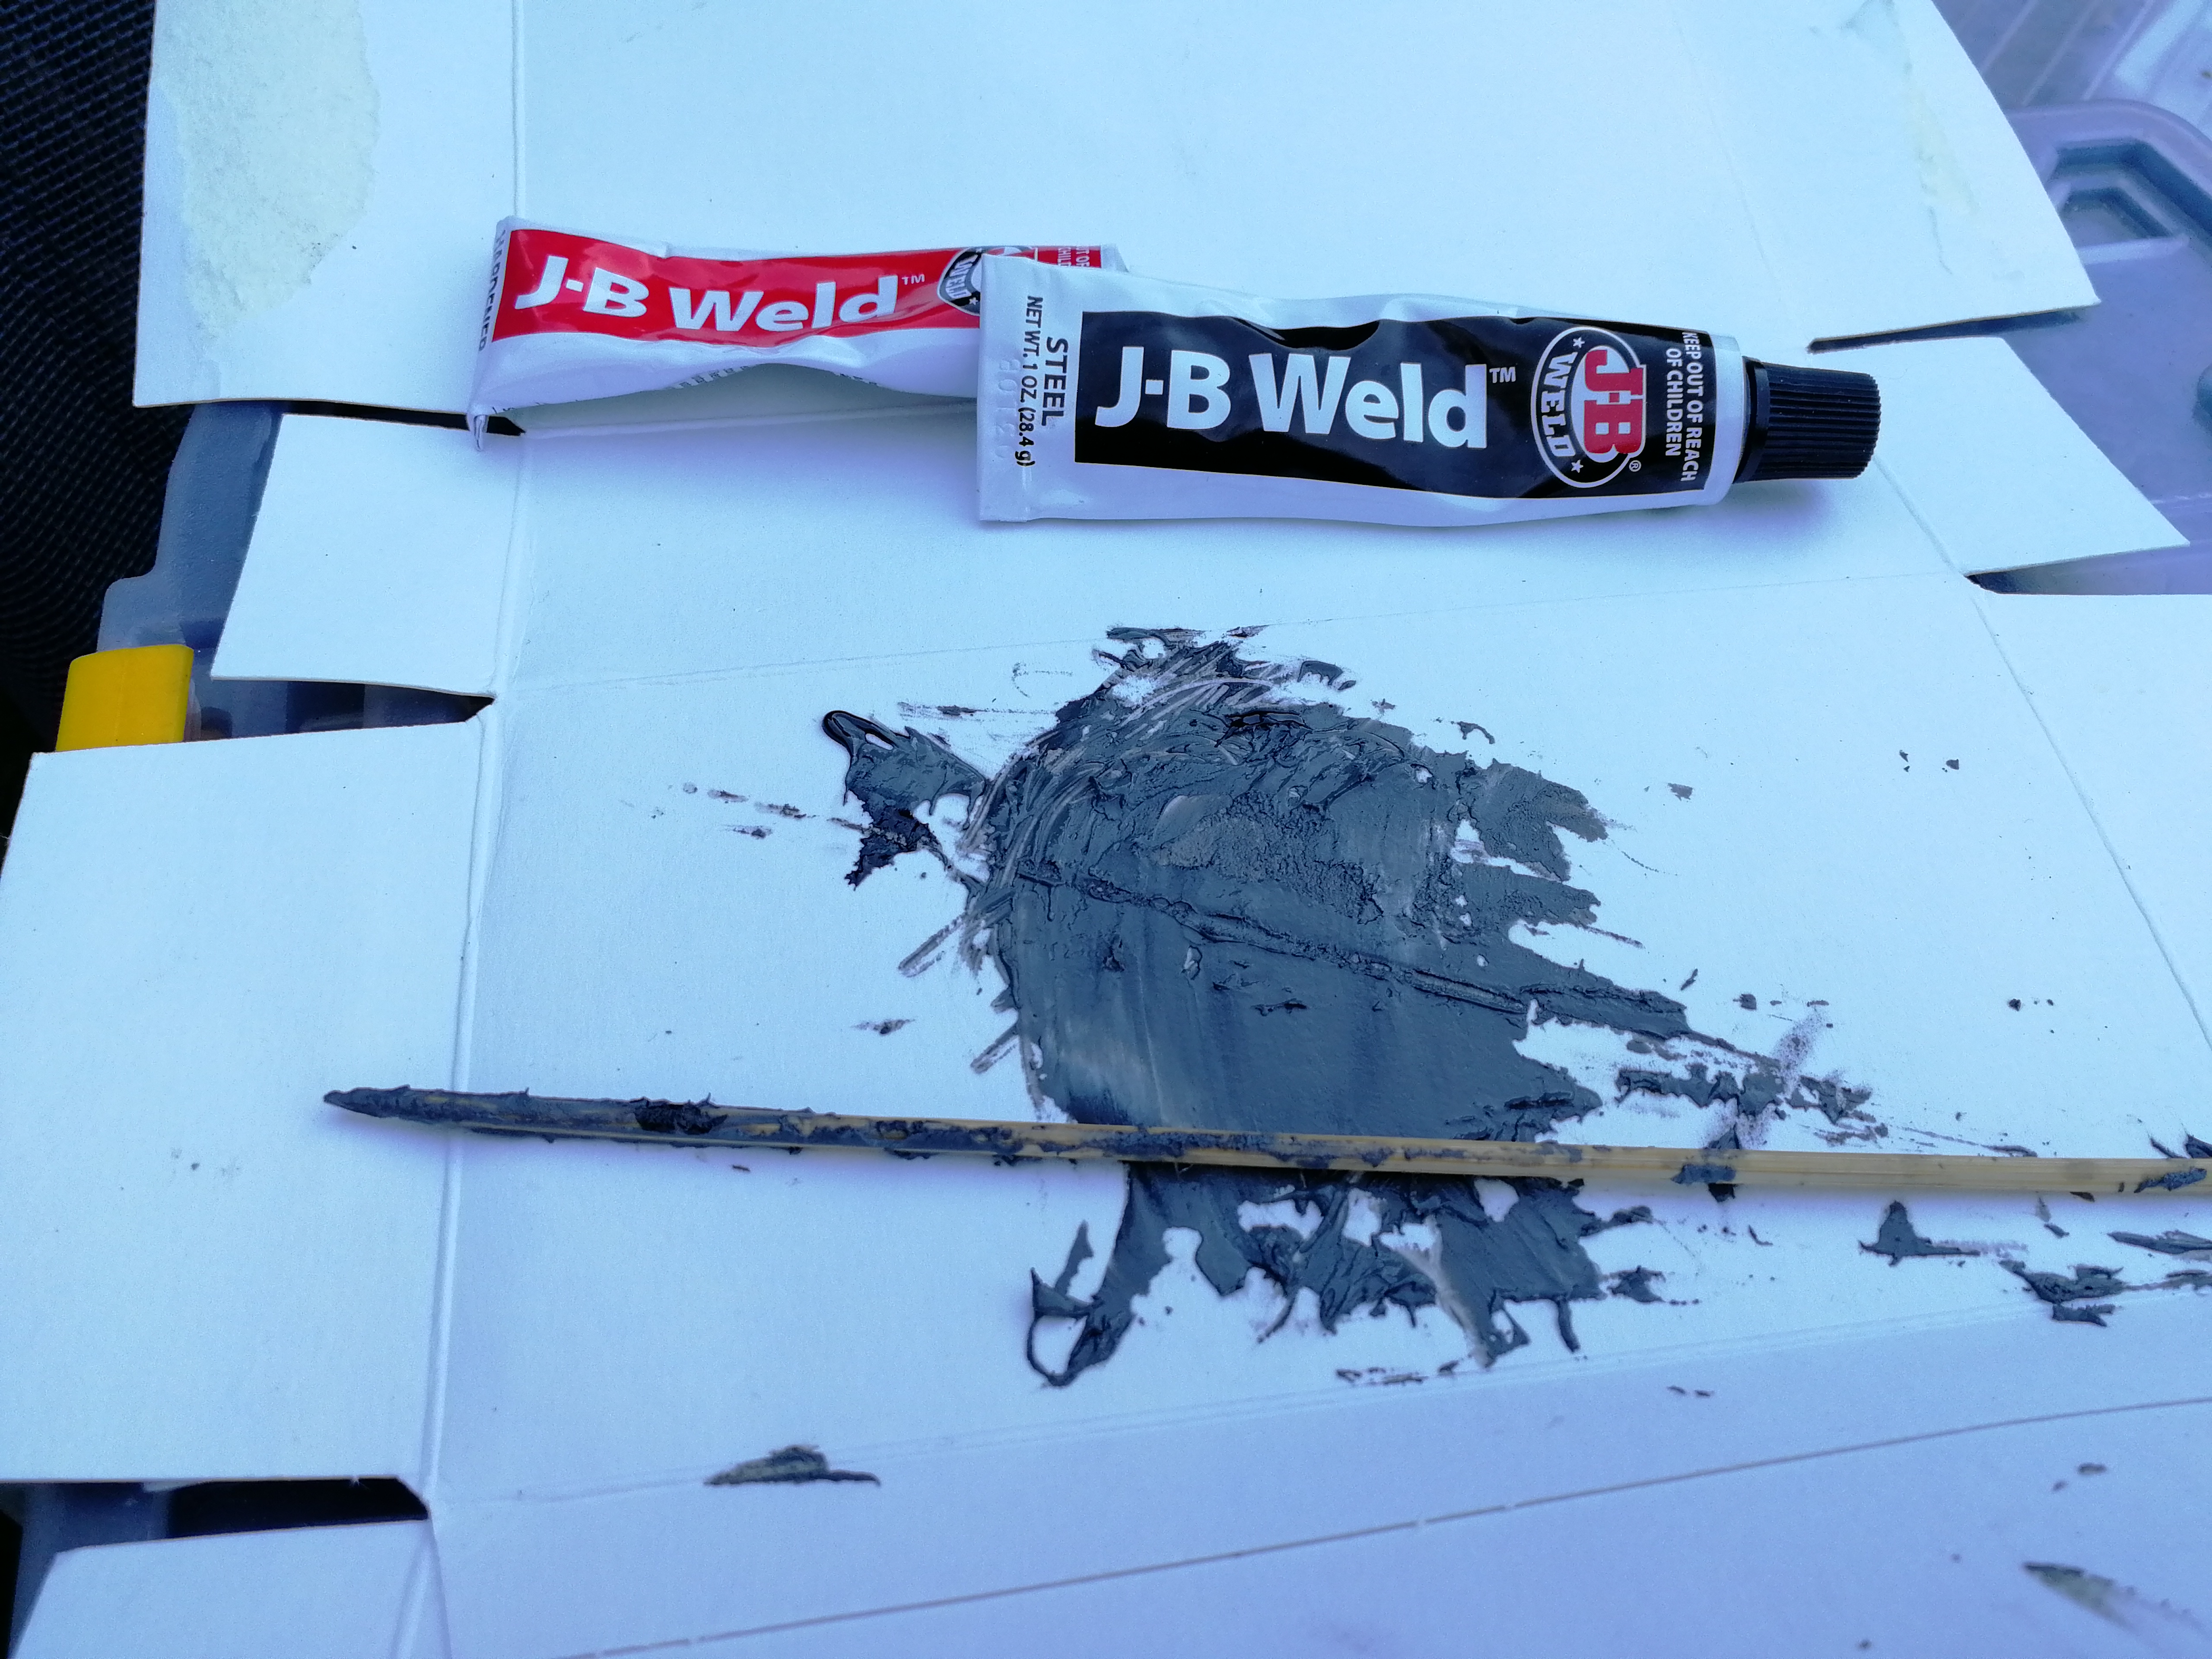
To join the aluminium together I cut one side of each length making an L shape with each. Each L shape can then slide into each other which provides some mechanical strength even before application of the epoxy.
Once the aluminum was cut I did the same for the milkly plastic that helps diffuse the LED light, labeling the removable film that protects the plastic.
Electronics
NodeMCU
In my original plan I hoped to be using a Teensy and have DMX control over the cross, however the Grove DMX512 modules I needed were on back order so I cracked on without them and used a NodeMCU instead. Instead of DMX powered control I chose to use the fantastic library which gives me (and the AV team) control over the cross via a website. The website works well from a mobile phone which is convient for us to control. This micro controller is just powerful enough to drive the 415 APA102 LEDs, however it cannot draw many FPS. A more powerful ESP32 based chip would have more grunt to drive more FPS.
Since I am a bit of a cave man I soldered the wires directly onto the NodeMCU pins and then connected the relevant cables up using wago terminals since I wanted the flexilbity of switching the MCU out at a later date as and when we switch to DMX control.
LED Strips
Installation of the LED strips was without a doubt the most frustrating and fiddly part of this project. My initial plan was for the LEDs to run along the back of the aluminum channels as intended, however the corners proved to be my undoing.
_ APA102s are individually addressable and invididually controled by an onboard IC so you can cut the strip wherever you choose._

I could have used some corner joint connectors however that would have left the corner spot without an LED which I think would have spoilt the overall effect. After much frustration and a few burnt fingers I decided that I needed a new approach otherwise I would never finish it.
The next best thing was to run the LED strips around the interior wall of the cross frame since the strips bend easily in that direction. I was a little concerned that I would loose some brightness since the LEDs are now not directly facing out. To mitigate this I spray painted the interior of the channel white to reflect as much light as possible.
The LED channels are 12mm wide which does not leave much room to manouver nor to run cables. Using double sided sticky tape and a glue gun I was mostly able to secure the strips to the side wall.
Voltage Drop
5v LED strips are susceptible to voltage drop, which means that LEDs further away from the voltage source start to gain a red tint and as the distance increases this becomes more pronounced. To solve this it is necessary to inject power part way around the cross. This requires running ground and 5v power all the way around the cross. I chose to run the cable behind the LED strips inside the channel which was fiddly and perhaps did not leave the best finish, it might have been better to run the cable around the back of the cross and drill a hole through for the cables.
Power is injected in at the start, middle and end of the LED strip runs which was enough to maintain a consistent voltage over the entire length.
Problems
Cable capacitance?
Whilst I was debugging and testing the LED strip and MCU I had some strange issues where the strips would work eratically, and their function would change depending on how close my hand was to them. These issues went away when I tried using short cables after learning a bit more about signal integrity issues on youtube. However I am no electrical engineer so 🤷♀️.
Failing LEDs?
This is an ongoing issue that I haven’t got to the bottom of yet. A few LEDs in the second half of LED strip appear to be missing the G of RGB so when the cross is white there are noticable pink patches. When I was playing with the LED strips after they arrived I had an issue with one strip of LEDs where there were some with failing green LEDs Pimoroni kindly replaced the strip. However I continued to use the remainder of the strip that appeared good at the time. I suspect that my next attempt to resolve that problem will be to replace the failing length.
DMX
Since WLED can accept sACN (Streaming ACN) we can control each individual LED in the string from our lighting system (Powered by ). This means we can create some really cool dynamic effects.
Mount and Finish
To achieve the freestanding look I wanted I drilled 2 holes in the bottom of the cross and bolted it down onto the wooden base that I painted black.